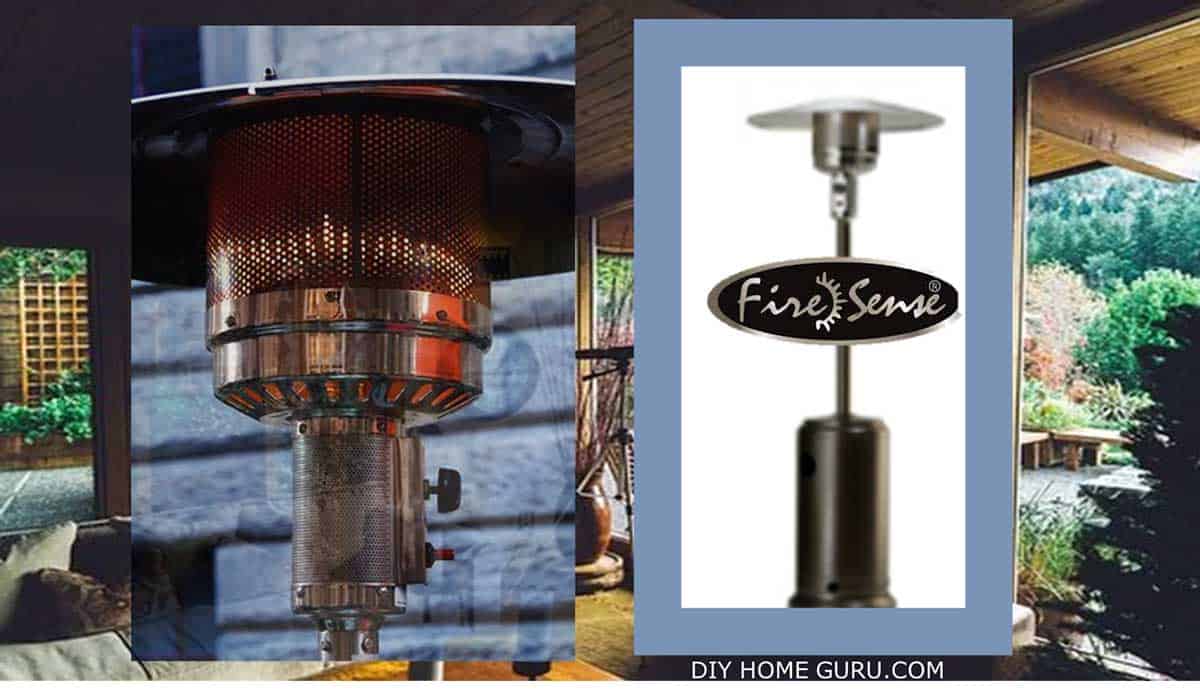
Patio heaters make modern life more comfortable. It allows us to enjoy chilly outdoor weather without experiencing the big freeze. We are living in a technologically advance period in history, everything is automated we are even approaching a future of autonomous cars.
It is the same for our humble household devices like our trusty patio heater. Currently, most patio heaters come with an automated ignition feature. However, there are always a few occasions when we have to revert back to lighting up our patio heaters manually.
One such instance is when we need to light up the patio heater and the auto-ignition feature does not work. Whenever we have to revert to manual ignition you don’t have to panic.
I’ll share with you two different strategies to light your patio heater manually both when you have a pilot ignition system and when you don’t.
Patio Heater Lighting Instructions: With Pilot Ignition System
Lighting is easy when the patio heater has a built-in pilot ignition system. The built-in ignition system forms part of the valve control system. In order to get your patio heater going i.e. to light up the heater just follow these easy steps:
1. Depress and Turn control knob

First and foremost, push and turn the control knob to the pilot position, and keep it there for about 45 seconds to a minute to give the propane enough time to leave the propane tank at the base of the patio heater to the filament at the top.
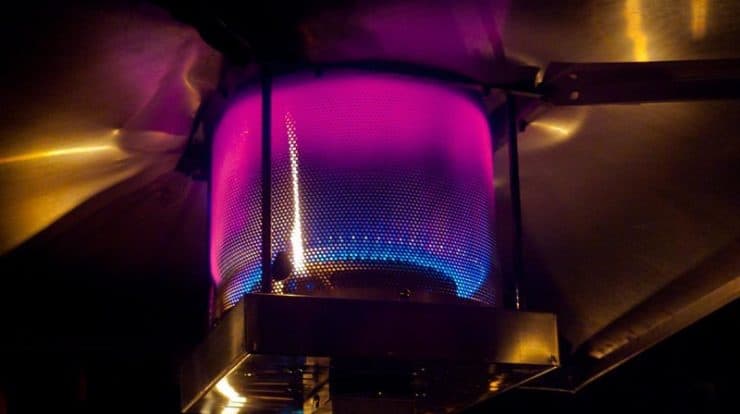
2. Ignite the pilot flame.

Push the igniter button to create a spark. When you can see the fire, keep the pilot knob in the depressed position for another 10 seconds to warm the filament.
3. Turn the knob to the low, medium or high position.

After the filament is warmed release the knob and turn counterclockwise to the low, medium or high position. That is it. Remember to take into consideration the space that you have heat. The manufacturer’s guide will let you know the most appropriate setting.
Patio Heater Lighting Instructions: No Pilot Ignition System
1. Open the ignite hole

First and foremost, since the igniter button is not working we have to do a shortcut. Use a screwdriver and loosen the flap that covers the ignite hole.
2. Depress and Turn control knob
Second, push and turn the control knob to the pilot position, and keep it there for about 45 seconds to a minute to give the propane enough time to leave the propane tank at the base of the patio heater to the filament at the top.
3. Insert and light the filament
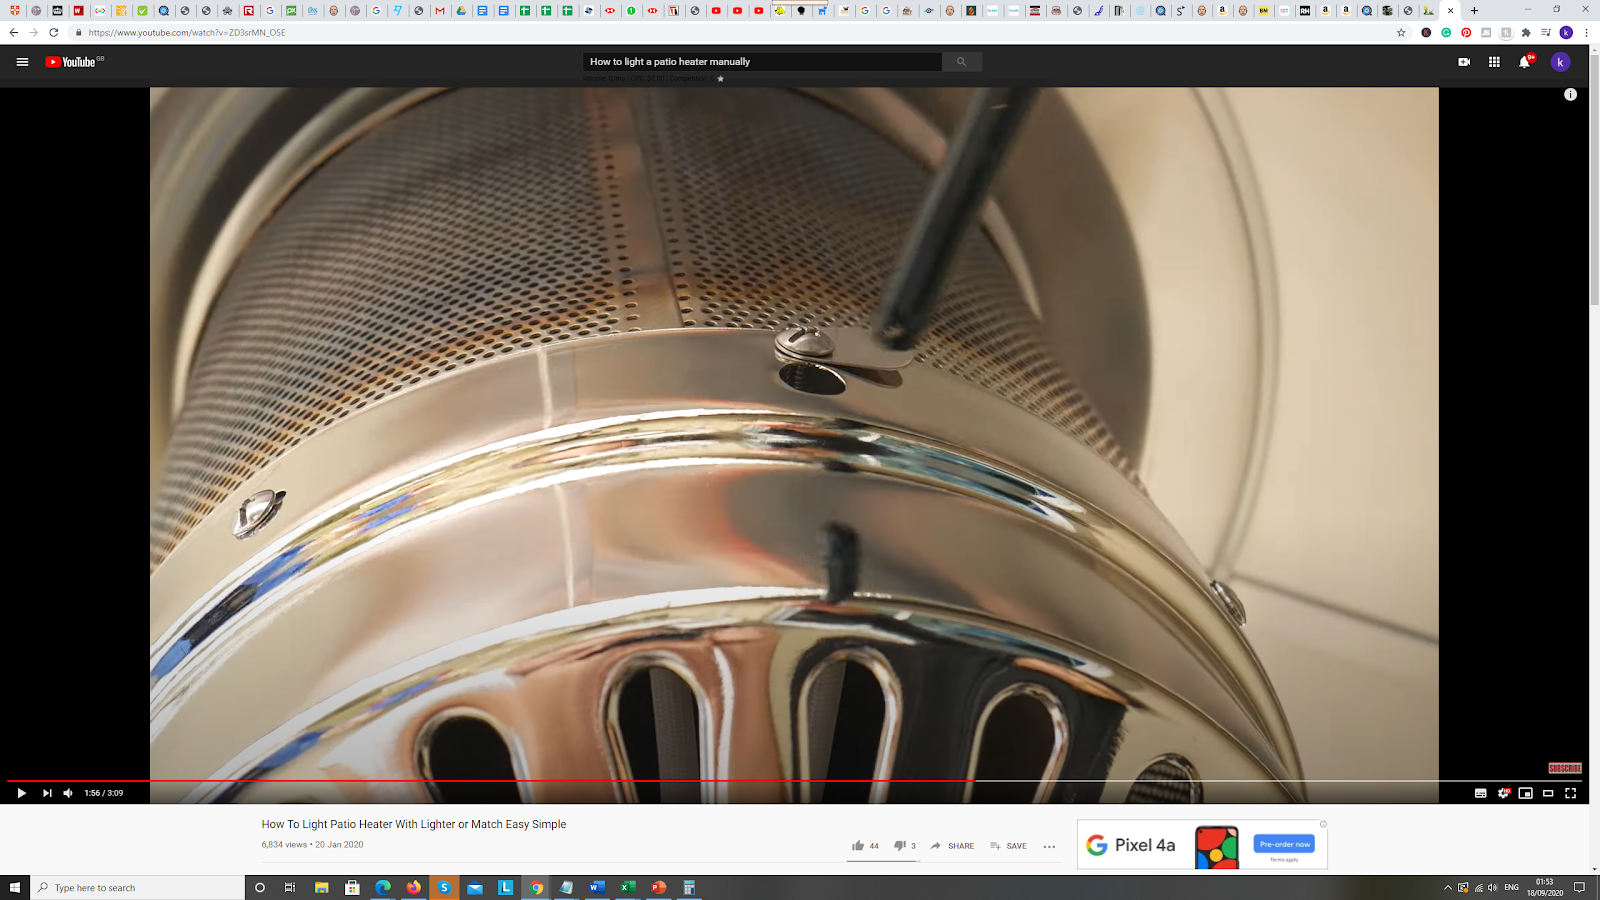
Insert the long neck gas lighter through the filament lighting hole and ignite. You should continue to depress the pilot knob for about another 10 seconds.
3. Turn the knob to the low, medium or high position.
After the filament is warmed release the knob and turn counterclockwise to the low, medium or high position. That is it. Always follow the manufacturer’s guide, it will let you know the most appropriate setting.
LPG Patio Heater Working Instructions
- Always ensure that the liquefied gas tank is properly connected and completely closed. We surely do not want a gas explosion.
- Make sure that the tank is opened and ready to use by turning the knob counterclockwise until fully opened for maximum patio heater gas usage.
- Depress the gas control knob and turn it to the pilot position and do not let go. Then, press the ignition for 3-4 times.
- Keep the gas knob depressed for about ten seconds until the gas flow without any hitch.
- Finally, release the gas knob and turn it to the desired low, medium or high setting.
Conclusion
Patio heater helps you to enjoy the outdoors for much longer in colder periods. Hopefully, this article will help you to light up those patios heater when it is more problematic to do so. Always be safe when dealing with patio heaters. Have a look at the guide to patio heaters.