A koi pond, swimming pool, and firepit are the three main things that allow you to really enjoy your backyard.
A fire pit is definitely needed during the year’s colder months for you to enjoy the outdoors in warmth.
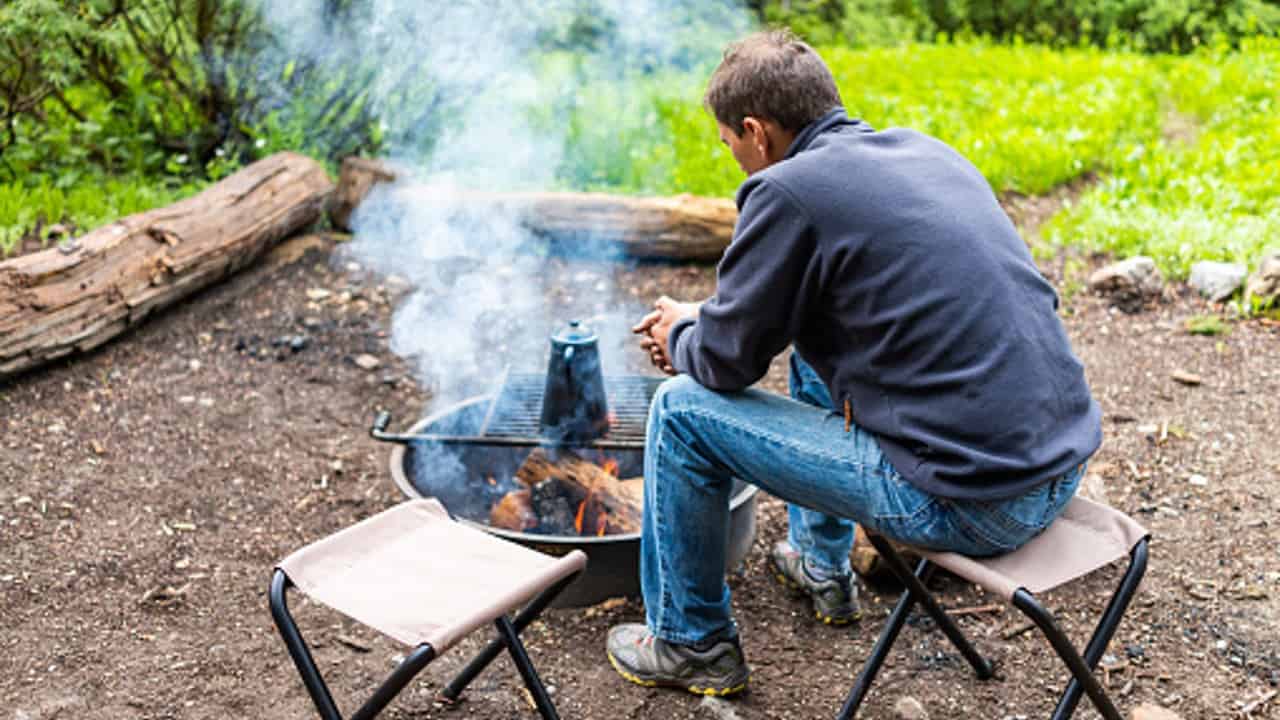
The main problem with firepits in the smoke that they produce. The puffs of smoke from the fire in the air tend to irritate your eyes. The smell of the smoke is no better; it latches on to your clothes like super glue to the paper and refuses to go.
If you are not a fan of smoke from your fire pit, I share with you how to build a smokeless fire pit in this article. Bye-bye, smoke, and here come a smokeless fire pit.
A smokeless fire pit is an outdoor fire pit that can efficiently burn firewood with minimal smoke. It features a dual combustion process, where the first combustion burns the wood and the secondary burn the excess fuel remaining in the smoke.
- How Do Smokeless Fire Pits work?
- Why is My Fire Pit So Smokey? What Causes Smoke in a Fire Pit?
- Methods Of Building Smokeless Fire Pits. Which One Will You Use?
- Final thoughts
How Do Smokeless Fire Pits work?
Fire pits are fueled by wood and tend to give off lots of smoke, but a smokeless fire pit burns clean without the smoke irritation. Here is how a smokeless firepit work. Air flows from the air holes at the bottom of the fire pit to keep the fire going.
Simultaneously, air also flows between the fire pit insert and the outer rim, creating an updraft. The air warms as it moves from the bottom of the fire pit to the top. The warm air (Oxygen) enters the top part of the fire pit through small holes.
This warm oxygen mixes with the smoke causing it to re-burn. The re-burning eliminates the smoke.
Why is My Fire Pit So Smokey? What Causes Smoke in a Fire Pit?
Now Let Us Look At How Smokeless Fire Pits Work. If you have ever wondered why a fire pit is so smokey, here is your answer. Smoke is a collection of hundreds of different tiny solid, liquid, and gas particles that flows in the air.
The visible smoke that you see from the fire pit results from an incomplete burn and is made up mostly of carbon (soot), tar, oils, and ash.
Incomplete combustion occurs when the fuel, which forms part of the fire triangle, did not completely burnt.
The main reason for this is; first, there isn’t enough oxygen present at the burn site to fully combust the fuel present, and second, the firewood contains an excessive amount of moisture for burning.
“Green” wood or older wood that has not been able to adequately dried contains water, organic compounds, carbon, and other minerals.
When you put this moisture-filled wood on a fire, it produces smoke. The smoke you see is the volatile organic compounds (hydrocarbons) evaporating from the wood.
These compounds start to evaporate at about 149°C. Once they burn, there is no smoke because the hydrocarbons are turned into water and carbon dioxide.” Sciencelearn.org.nz
Methods Of Building Smokeless Fire Pits. Which One Will You Use?
Where ever there is smoke there is fire.
Anon
Where ever there is smoke, there is fire is a phrase you always hear from childhood. Is this statement is true?
A smokeless fire pit burns cleaner and hotter than a normal fire pit. That is, without excessive smokes production.
It is important to note that a smokeless fire pit is not entirely smokeless; its smoke is only significantly reduced.
Three key methods are used to build a smokeless fire pit. Choose the one that best suits your needs.
You can choose the:
- Charcoal Method,
- Upside-Down fire Method,
- DIY Solo Stove smokeless fire pit method, or the
- Dakota Fire Hole method.
1. How to Make A Smokeless Charcoal Fire Pit?
Charcoal fire pits make a stunning addition to any garden. The charcoal method is a great way to burn a smokeless fire pit. This method works because you are using coal instead of firewood. Charcoal is wood with all the hydrocarbons consumed, already leaving pure carbon bricks for your firepit.
For this method to work, you will need charcoal, tinder, and a fire starter. Here is how this method works.
Step 1: Place charcoal in your fire pit
Spread your charcoals equally throughout the base of your pit. Only use the amount that you think you will need. It is similar to putting charcoal on your barbeque.
Step 2: Add tinder
Choose your preferred method of lighting the coal. You can either add a few fire starters, tucking 2 or 3 under the coals.
Step 3: Add lighter fuel
Squirt an appropriate amount of fire pit liquid or lighter fluid on the coal and tinder. Be careful when you use lighter fuel. Follow the recommendations for lighter fuel use; always use it cautiously.
Step 4: Light the tinder
Use a long match or firestarter to ignite the tinder and lighter fluid. Keep your face away from the fire because sometimes there may be a ball of flames that escapes from the fire if there is a sudden gush of wind.
2. How to Make a Upside-Down Fire Pit?
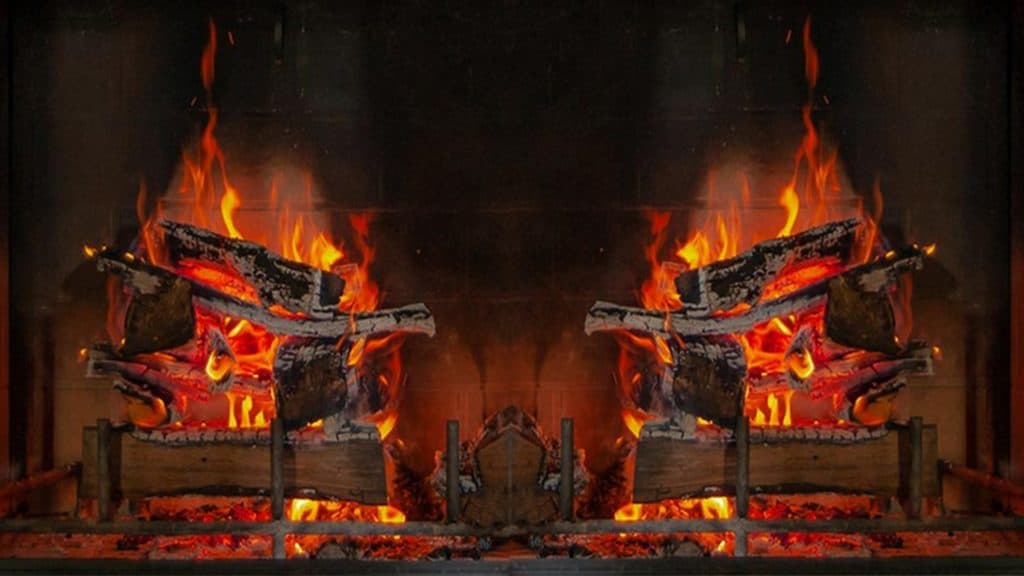
An upside-down fire is a self-feeding fire. It burns the logs at the top and slowly creeps downwards, from top to bottom, gradually lighting the fuel (log) below.
Firepits, lit in this way, typically burn longer and hotter. It is a safe technique to use in your traditional barbecues and at the campsite.
The upside-down starts with the larger logs at the bottom and the smaller ones at the top. This type of firepit burns longer and hotter and reduces the amount of smoke produced, in the fire pit, as the logs burn.
When the top layers burn, it produces heat that dries the wood on the layer below, even more, getting rid of the last bit of moisture from the logs.
Remember, as was said before, the burning of hydrocarbons causes smoke. Therefore, by the time the bottom logs have ignited, the hydrocarbons and the moisture would have evaporated.
The fire would have consumed the remaining hydrocarbons in the smoke at the top of the upside-down fire. Hence, it reduced smoke and more fun by the fire.
Here is how you build an upside-down smokeless fire as easy as 1-2-3!.
Step 1: Stacking the logs
Start by arranging the logs in a parallel format. Logs should be stacked on the grate, with the largest pieces at the bottom to the smallest pieces at the top.
Each additional layer of logs should be stacked at 90-degrees of the previous layer until you reach the required height. You know that you get it right when there is a criss-cross pattern, similar to the Jenga stack.
It is also packed to increase the amount of airflow so that the wood and smoke that a chance to burn fully.
Step 2: Add kingling
Prepare a platform at the top of the pile and add kindling in. You can use newspaper along with the kingling if you so desire. Make sure there is plenty of air circulation around each piece.
Step 3: Light the fire
At this point, you’ll light the kingling or the newspaper to get the fire going. Since the fire is started at the top, it will slowly burn downwards as it drys the wood on the way down, creating a smokeless fire.
3. How to Make a DIY Solo Stove Smokeless Fire Pit?
You can make a DIY smokeless fire pit similar to the solo stove as a small DIY home project. All you need is:
- a 12qt stainless steel stockpot,
- a 20 qt stainless steel stockpot,
- a drill to punch holes into the base of one pot and around the bottom edge of another, and
- a sanding bit, to sand the sharp edges resulting from the cutouts or drilled holes in the pot.
If you need a bigger fire, then get bigger pots would suffice.
Step 1: Bore A Number of Holes Around the base
The first step is to bore several holes around the base of the bigger pot. The holes should be pot about an inch from the bottom edge. Each hole should be about a half-inch apart to provide the fire with enough oxygen for an efficient burn. This will allow the fire to get sufficient oxygen. You can use a nail and hammer to bore the holes or a drill with a 1/4 inch bit.
Step 2: Get rid of the handles. Bore more holes
The second step is to get rid of the smaller pot’s handles to easily fit into the bigger pot. Drill several holes in the smaller pot base so that oxygen can flow up through the inner pot base.
Further, drill additional holes around the top edge of the smaller pot. Quater-inch holes around this section will suffice.
These holes or cut out at the top of the inner pot will allow warm oxygen to flow through. Cold oxygen will enter through the outer pot’s base and flow up between the inner and outer pot.
As the air rises, it will warm to very high temperatures. Warm oxygen will combust the remaining oils and moisture in the firewood and, therefore, significantly reduce smoke emittance.
Step 3: Create the top ring to hold the small pot in place
Measure the diameter of the small pot in the center of the big pot’s cover. After you trace the smaller pot’s lid, reduces the diameter of the traced line for the small pot to fit the cut out snugly without falling through. Remember to sand the rough edges.
4. How to Make a Smokeless Dakota Fire Hole?
The Dakota fire hole is the perfect smokeless fire pit if you want to experience a true camping experience in your backyard.
The principles remain the same provide oxygen at the firebase and give the fire enough time to burn the oils and moisture in the wood completely.
The trick is to cause the fire to be on top of the bigger logs. It works similar to the upsidedown fire. Here is how it is done in a few steps.
Tools you may need may include:
- A small spade
- Shovel
- A strong stick
Step 1: Dig two holes and tunnel from the smaller to the larger
The fire step is to dig two holes side by side, one foot apart, then tunnel through one hole to the next. This will create a u-shape. When you start the fire oxygen will flow from one hole to the other.
The holes should be about one cubic foot deep. You can make the bottom part wider if you like to add more fuel. The second hole should be about six inches in diameter.
Step 2: Pack the larger one hole with firewood
Stack firewood in one of the holes as you normally would. The hole should be stacked with the bigger logs first at the bottom and the smaller ones. You can add bramble, kindle, or newspaper to get the fire started at the very top.
Step 3: Light the kindling to start the fire
Set the newspaper or bramble a light. The hole with the fire will pull oxygen through from the other hole to keep the fire roaring.
Since the fire is basically underground, away from the wind, the fire will burn intensely. This intense burning will reduce the amount of smoke created significantly.
You won’t get much heat from this to keep you warm because the fire is underground. However, it is perfect if you want to cook something outdoors without setting the entire yard ablaze. This method is perfect for camping. If you want to cook outdoors, rest your pot on two pieces of green sapling set across the fire.
5. How to Reduce Smoke in Your Fire Pit [traditional brick fire pit]
You may have an old fire pit in your backyard and want to reduce the smoke in your fire pit. I will share with you a number of strategies you can implement to reduce the smoke emitted from your fire pit. Here is how to do a retrofit DIY smokeless fire pit in a few minutes without costing you a fortune.
You probably remember the principle – you want air coming through the bottom of the fire pit. You want an inner layer and an outer layer for oxygen to warm up through to give the moisture and oils in the wood more time to burn.
Step 1: Buy a steel stock tank ring
To create the inner layer, buy a stock tank ring. Then drill several holes around the top part of the ring.
Step 2: Place the stock tank ring in the center of the concrete fire pit
Remove the rubble from the fire pit and pace the stock tank ring in the fire pit center. The ring is needed to create that inner insert so that air may flow up between the inner ring and the outer pavers.
Step 3: Remove a number of the blocks from the base of the fire pit
Remove several pavers from the base of the fire pit at spaced intervals. You may remove every three or four. This will provide the air hole for the fire to breathe.
The holes at the top will provide warm oxygen for the fire to oils or moisture to burn and not produce smoke. If you need smoke, just put green wood on the fire.
Final thoughts
Smokeless fire pits are awesome for you to enjoy intense fires without the irritating smoke. If you can’t be bothered to make your own smokeless fire pit and want to buy one from Amazon, consider buying the Solo Stove Ranger Outdoor Fire Pit. You can get it here at an amazing price. Thanks for visiting DIY Home Guru sharing our projects.

